Project Casserole continues.
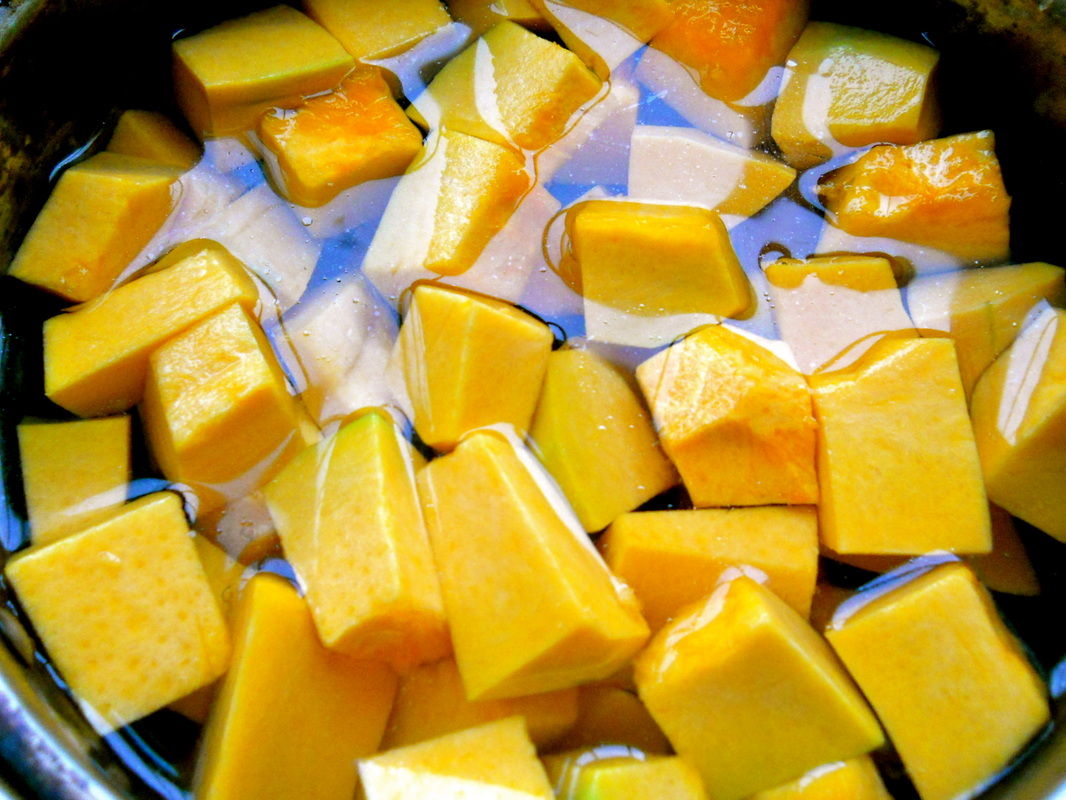
First, I got some pumpkin cubes boiling. (We don't really have canned veggies of any sort over here, but a can of pumpkin puree would be a grand alternative.)
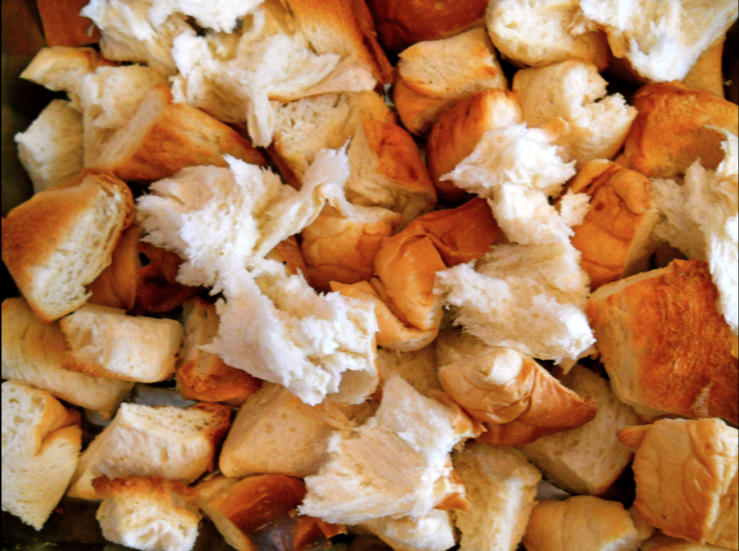
The pumpkin took about 10-12 minutes to boil and soften so I could easily mash it. Meanwhile, I prepared a 9 x 13 pan of bread cubes.
I based this off of a recipe from a
vegan website. Vegan I am not, and neither was this recipe by the time I finished with it. But I loved the recipe. It was fun, easy, freedom-giving, and delicious!
Ingredients:bread (I used a loaf of unsliced bread, broken into large cubes. Stale bread would probably be best, but mine was fresh, so I just toasted it a bit first to dry it out.)1 c. mashed pumpkin/ pumpkin puree (could also use applesauce, banana, etc.)1 c. milk2 T. cornstarch2 t. cinnamon1 t. nutmeg1/4 t. ginger3 T. brown sugarGlaze: 2 egg whitesa little honeySo I mixed all of the wet ingredients together and then poured them over the bread. The pan looked a bit dry after I stirred it, so I splashed in a little more milk.
I stirred the mixture and let it sit for about 10 minutes while I preheated the oven to 350 degrees. Then I stirred again and let it sit for another 10 minutes.
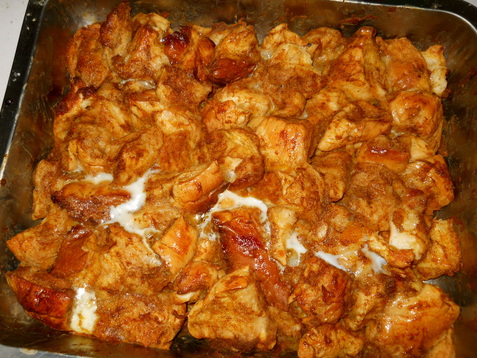
I put it in the oven for about 15 minutes and then took it out to brush it with the egg-white and honey glaze. (To this point, there was not egg in the recipe, so I could have cooked it as long or as short as I wanted, longer for a less moist casserole.) After brushing the top, I put it back in the oven and baked it for about 10 more minutes. The glaze gave it a bit of hard/ crunchy sweetness on the outside of the top, which we really liked; it tasted a bit like monkey bread. The honey in the glaze also gave it a nice touch of sweetness so we didn't need to douse it in syrup. This tasted fantastic, and we'll definitely be making it again.
Pumpkin. Totally an autumn-esque food, but I just love it and can't keep myself from cooking with it year-round. I decided to try my hand at some pumpkin-spice scones. There are a bunch of recipes out there that look amazing, but unfortunately they all use loads of butter, which (a) we don't have here, and (b) just isn't going to be healthy at all. So, at the risk of having bunch of true scone connoisseurs stick up their noses at my baking, here's how I made mine. I adapted it from a recipe I found at
this site.
Ingredients:
3 c. all-purpose flour2 T. baking powder2 T. white sugar (I reduced the white sugar and supplemented with brown sugar)
2 T. brown sugar 1/2 t. salt1/4 t. cinnamon (I used cinnamon, ginger, and nutmeg since I didn't have pumpkin pie spice)
1/8 t. ginger1/8 t. nutmeg2 T. oil (reduced from 1/3 c. oil)
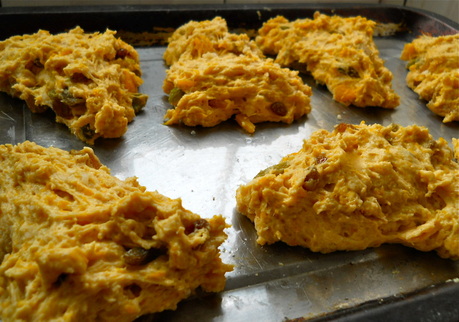
1 1/2 cups pumpkin puree/ mashed pumpkin1 t. apple cider vinegarraisinsI just combined all of the ingredients. (Raisins were my own addition, and I'm so glad I decided to throw them in. They added a great touch of flavor.) It took a while to incorporate all of the ingredients; at points it looked like there was too much flour, but in the end, it turned out great.
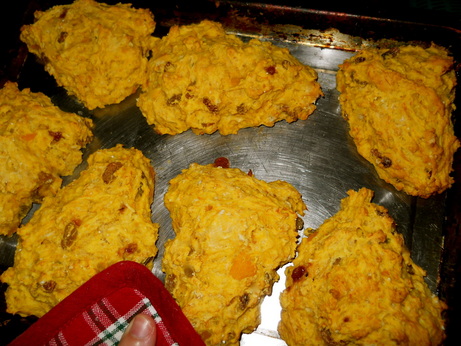
I formed the batter into 10 discs and baked them for about 14 minutes at 400 degrees Fahrenheit.When they were golden brown, I removed them from the oven. We drizzled a cinnamon & powdered sugar glaze over them before eating them for breakfast.
Another casserole in the line-up. I like this one because it's versatile; I can throw in whatever veggies I have on hand. I also liked it because it ended up being kind of creamy without calling for a heavy soup, heavy cream, or another ingredient I didn't have on hand.
Ingredients:
20 mushrooms, sliced
1 t. oil
water
6 T. flour
4 t. chicken bouillon granules
1 c. milk
1/2 t. salt
1/2 t. pepper
3 c. (when dry) spiral noodles, cooked
2 c. shredded & cooked chicken
1 c. green peas
1/4 c. Parmesan cheese
breadcrumbs to top
First, I sauteed about 20 sliced mushrooms in a teaspoon of oil. Then I added 1/4 cup water and 6 T. flour, adding the flour gradually until the mixture was smooth and bubbly. I added another 1 2/3 cup of water, chicken bouillon granules, milk, salt, pepper, and cooked it until it was thickened, about 15-20 minutes.
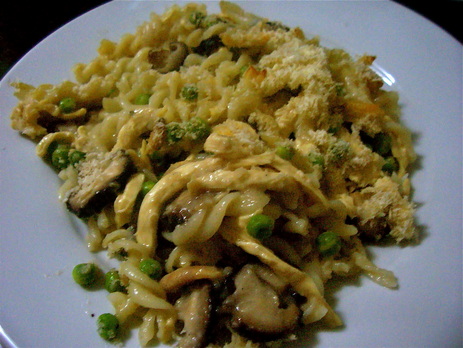
Then I added the spiral noodles, shredded chicken, peas, and Parmesan cheese and stirred it together.
I put this mixture into a 9 x 13 baking pan, topped with breadcrumbs, and baked until bubbly & browned on top, about 20 minutes.
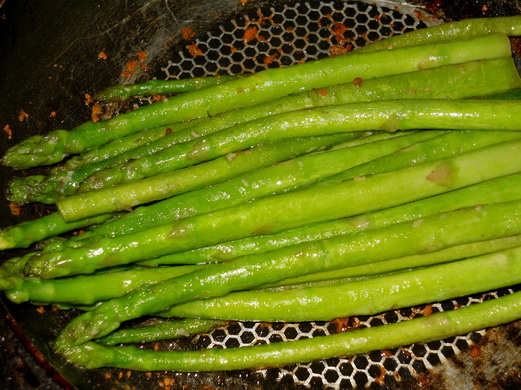
I don't know the first thing about cooking vegetables when there's no can to be opened. You Google vegetable recipes and find a bunch of creamy, buttery ideas. Yes, friends, if I drenched my vegetables in butter and fat, I could cook vegetables too.
I want to learn how to cook healthy veggies. This week, I picked up some asparagus at the supermarket and decided to give it a shot. I just chopped the ends of the asparagus, added about a Tablespoon of sunflower oil to the pan, cooked the asparagus over medium heat until they darkened in color and became tender (about 7 minutes for me). Toward the middle of the cooking process I sprinkled in just a touch of salt, pepper, and Parmesan cheese. Nothing extravagant. But good.
Project for the next few weeks: casseroles. Casseroles. That word sounds so old woman-ly, but I like it; it also sounds so American. I think there's a little piece of old woman in me, and a whole lot of American, so the project is set. (Side note: In fact, I'm quite excited to be an old woman some day... making casseroles, drinking tea with my friends, reading mysteries, knitting, and watching Hallmark channel movies doesn't sound so bad.)
Dreams of aging aside, my first project in the casserole series was eggplant parmesan.
Ingredients:
1 T. sugar
1 T. basil
1 T. oregano
about 24 small-medium tomatoes (though 4-8oz. cans of tomato sauce, a can of whole tomatoes (chopped), and a bit of tomato paste would have done the job)
2 garlic cloves, minced
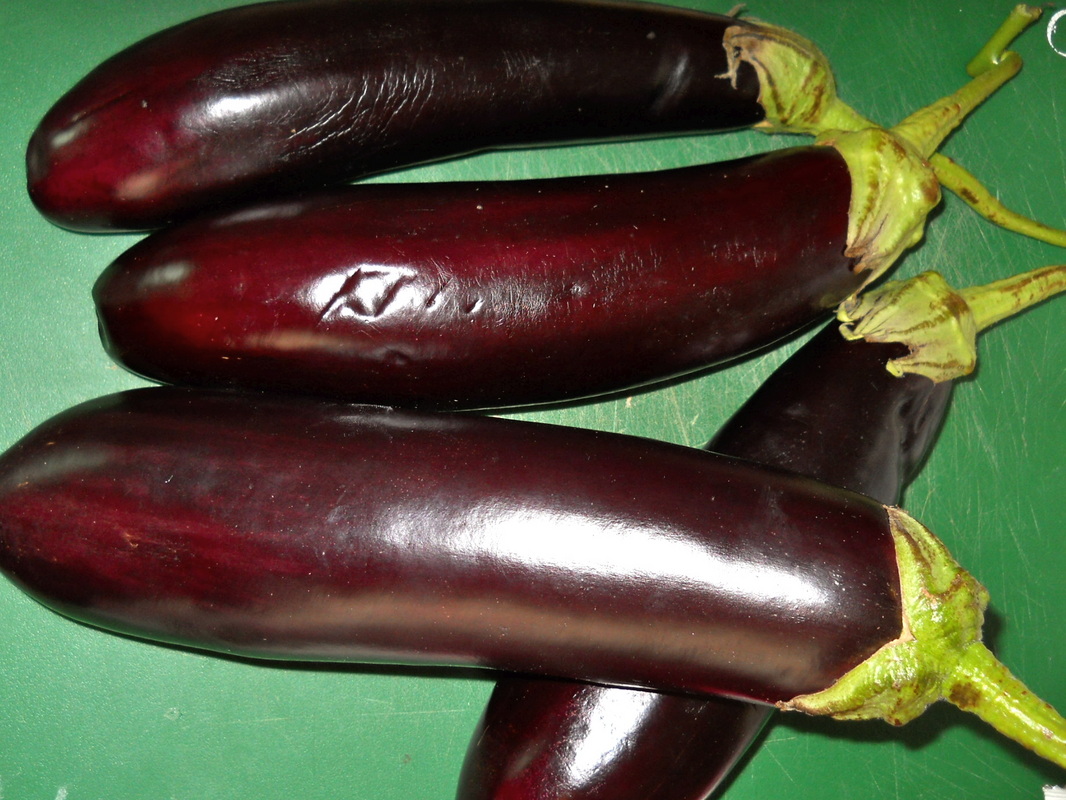
2 lb. of eggplant
1/4 c. water
3 egg whites
1 1/4 c. breadcrumbs
2 T. Italian seasoning
1/3 c. Parmesan cheese
2 c. mozzarella cheese, ideally; I used the only option we've got: a package of low-fat cheese singles
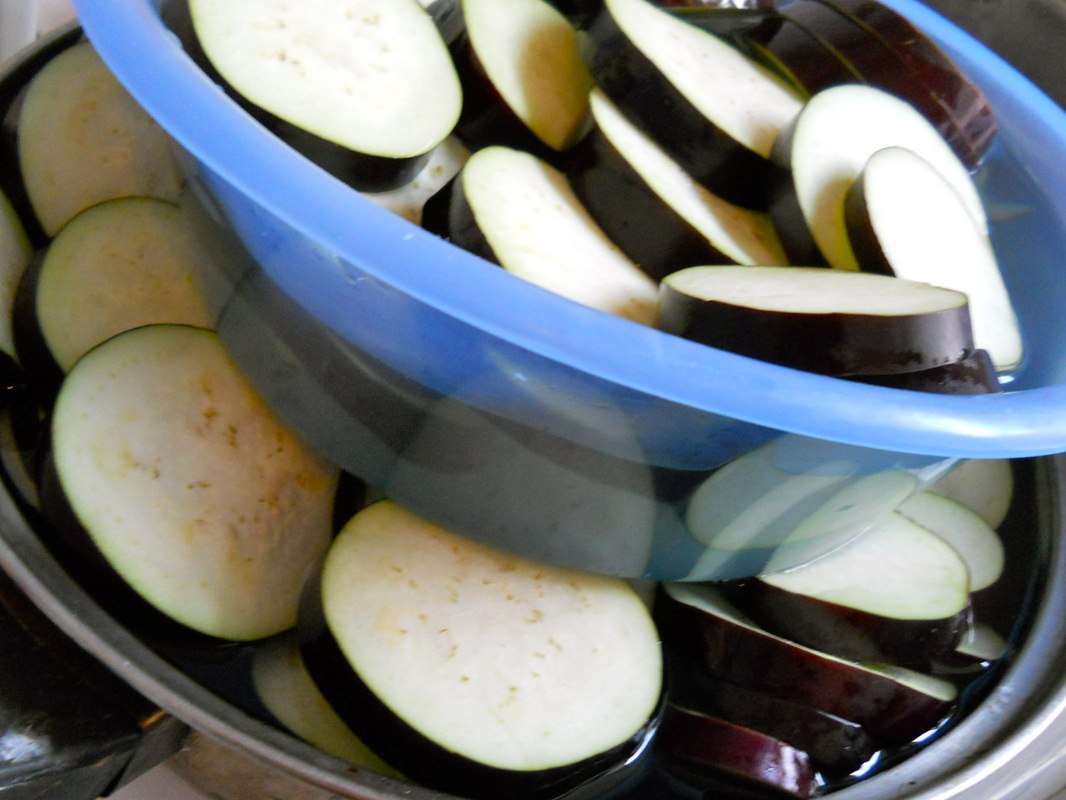
First I chopped up 4 large eggplants; 3 would have been more than plenty; 2 might have sufficed. I chopped them to be about 1/4 inch wide. I placed them in a bowl, added water, and soaked them for 30 minutes.
Meanwhile, I combined the first 5 ingredients above to make a sauce. I brought it to a boil, then reduced the heat and simmered for about 30 more minutes.
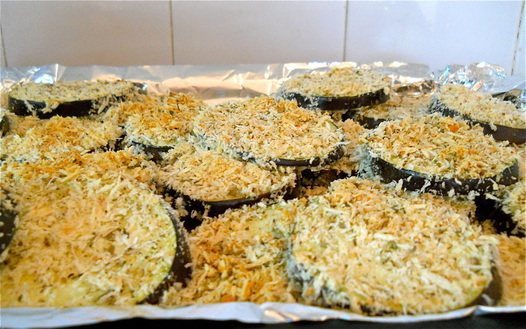
In 2 small bowls, I used the water and egg whites to make a mixture, then I used the parmesan, breadcrumbs, and Italian seasoning to make another mixture. After the eggplant slices had soaked, I dipped them in the first bowl, dredged them in the mixture in the second, and placed them on a tinfoil-lined baking sheet. Then I broiled them for about 5 minutes per tray (I ended up with 3 small trays of slices, which was way too many... I guess I wasn't sure how much eggplant was "2 pounds" as the original recipe suggested.)
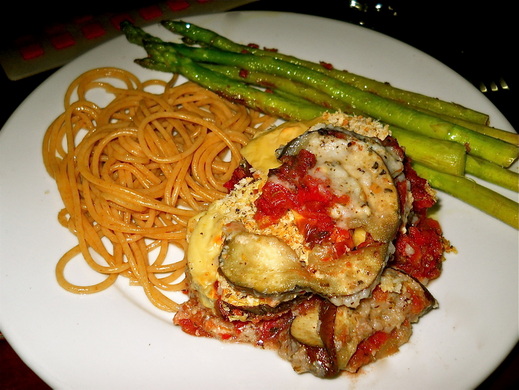
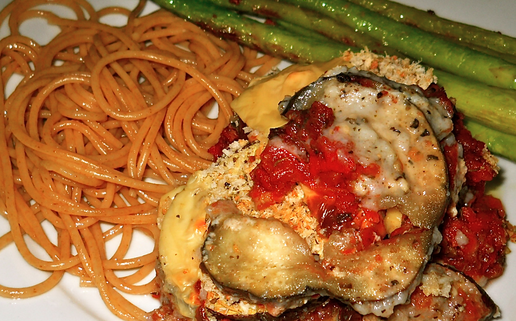
Then came the easy part; I just layered the sauce into a 13x9 pan, then a layer of eggplant, followed by a layer of cheese, repeated the layering steps once, covered it with tinfoil, and finally baked it at 350 degrees for 30 minutes. In my opinion, it could have used to be baked about 10-15 minutes longer for more tender eggplant, but what do I know?
I served it with some asparagus and whole wheat pasta.
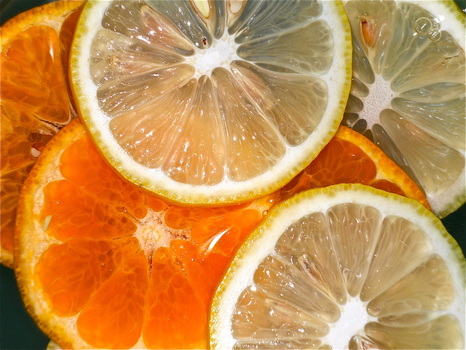
Water. Lemons. Oranges. Love it.
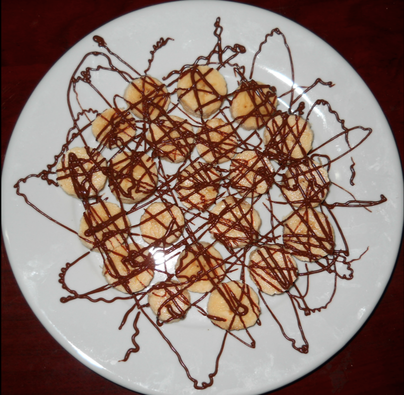
We bought bananas... probably like 15 of them, which gave opportunity for this little spring snack. We've been laying off the sugar, mostly for the sake of our teeth, but we couldn't let a chocolate bar sent all the way from our families in America go to waste, so I used it.
Just sliced a banana, drizzled the chocolate, and let it harden.
This is one of those things that's probably too simple to be called a recipe. I don't really want to insult anyone by giving a step by step, but this was a great snack, in my opinion.
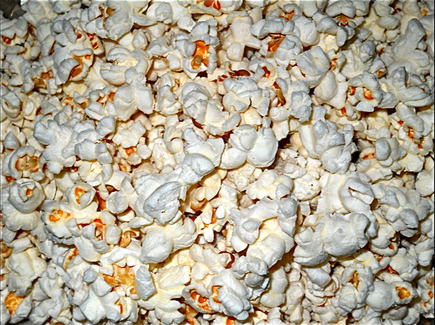
The problem: bagged popcorn has so much fat if you're living in a place without fat-free/ low fat options. Takes the fun out of eating a whole grain.
The solution: make it yourself.
A few years ago, Austin and I wanted to make our own popcorn. We were delighted to find that it was super easy, cheap, and healthy to make it in the microwave. The sole ingredient for making this snack is conveniently available here, too!
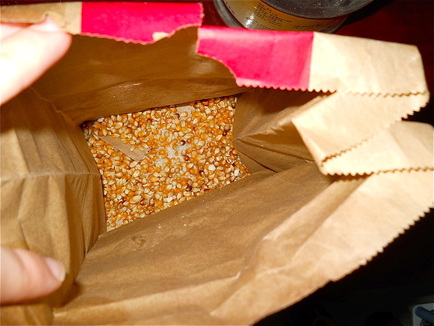
First, I just throw about 3 Bethany-sized handfuls of popcorn into a lunch sack (not available from the supermarket here, so I grab a few extra from McDonald's when we make it to the "big city"... oh the things I would have been too embarrassed to do not so long ago...
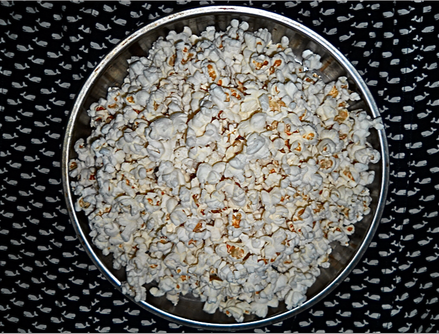
Then I simply microwave it for between 3 and 5 minutes, until the popping slows to just every few seconds.
Voila! I used to spray this lightly with my oil mister and then sprinkle salt on top. Now my oil mister has been destroyed but I still sprinkle the salt on.
I should note that I think this stuff is delicious, but I shared it with some friends once and they thought it tasted like Styrofoam. To each her own, I suppose.
Endnote: Cultural Phenomenon #847: In China, popcorn is a sweet food. It is sold in cups in many roadside shops, sweetened. Our students find it strange when they come to our home and we serve them salty popcorn.
Austin and Bethany Phenomenon #3987293: Sometimes when Austin and I are walking, we'll buy a cup of lightly sweetened popcorn and see how much we can eat by inserting our tongues into the cup and getting the popcorn to stick. Popcorn... such a fun food to eat!
I recently subscribed to some e-newsletters from Better Homes and Gardens and a few other similar magazines, which means that now, every day or so, I get a few e-mails full of little decorating ideas, craft tips, and healthy recipes, all of which I find really exciting to browse, even if they're too difficult or impractical to every venture on my own.
But when I saw a picture of granola-covered frozen banana pops, I thought, "Now that's something I could do." As I type this, I'm still unsure as to whether I was mistaken.
So first, I put a bunch of granola in a shallow dish. I actually used some granola crumbs from Friday's granola bars. Then, I poured some peach yogurt (just one snack-size container) into another bowl and added 1/4 teaspoon cinnamon.
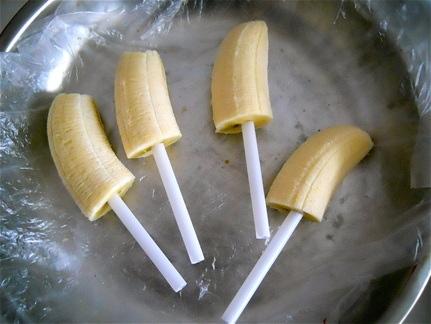
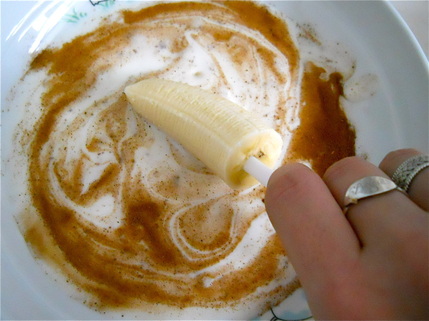
I put the banana halves on "sticks," actually just some thick mini-straws that are sold with the really thin yogurts in this country.
I then rolled the banana halves in the yogurt-cinnamon mixture.
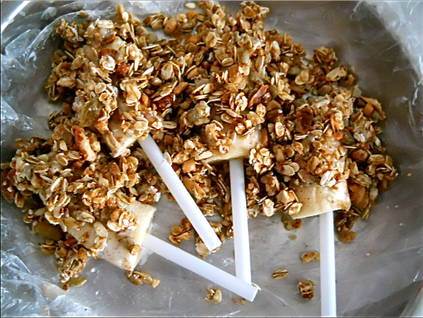
And finally, I rolled the yogurt-covered banana halves in the granola bowl. The granola didn't exactly seem to stick very well to the yogurt-covered bananas, but there was no turning back at this point.
I covered the bananas with granola as best as I could, and then I placed them in the dish, pouring the remaining granola over top and placing the tray in the freezer for 2-3 hours. I'm not sure if it will stick once it freezes. Here's a picture of my granola-banana pop wannabes before I placed them in the freezer:
Go figure. Things I make rarely look as delightful as they did in the picture that inspired them.
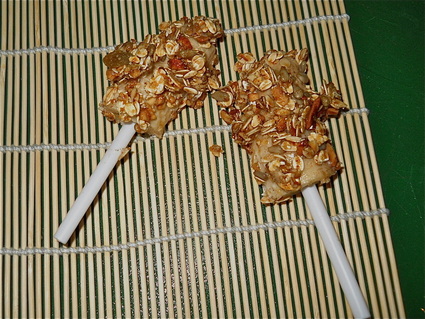
And now we wait. I'm about to run some errands, do some running, and then return to see and post a picture of the granola-banana pop final product, as humiliating as that picture may be. Be back in a few hours...
If there's one thing I learned through the Asbury education department, it's not to do anything without proper reflection. So... In hindsight, I'd say these were good. A noble experiment. Perhaps the yogurt was a little thin (nothing I can really do about that here), but next time I do think I'll take more care to make sure the granola is more flaky... I think individual oats would stick better than heavier clumps of granola. They were very tasty though, and I will certainly be making them again to celebrate the warm spring & summer evenings. (We did need to let them stand 10 minutes after removing them from the freezer before eating them.)
Friday mornings are great. It's the last day of the week, and I teach the first three classes. So, pretty much, I have to go to school a little early, but then I'm done teaching by 10:05. Can't beat that.
Sometimes on Friday, when I'm feeling especially wife-like, I decide to cook a little lunch for Austin so when he gets home after fifth period we can celebrate the coming of the weekend! A few weeks ago, I whipped this up...
Ingredients:
1 lb. sliced beef
a little salt and pepper
2-3 cloves garlic, sliced
4 spring onions, sliced diagonally
splash of cider vinegar
splash of soy sauce
8 mini mangoes, peeled and diced
1/4 cup lightly crushed cashews
rice, cooked as desired
lettuce cups or slices
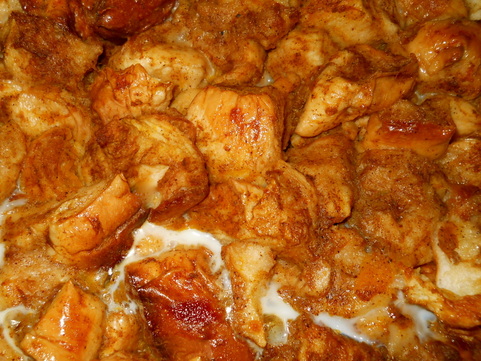
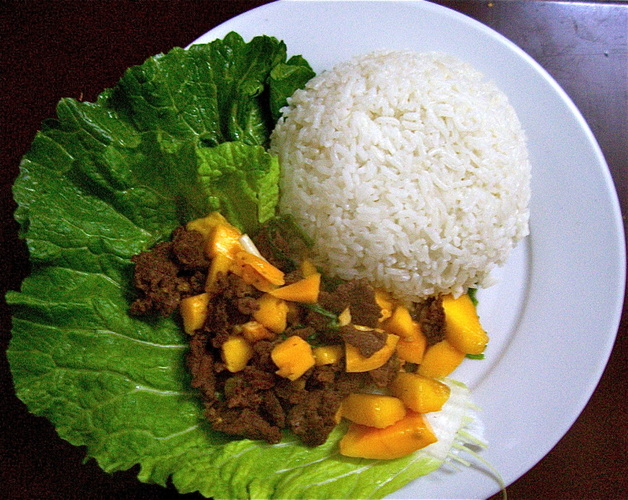
First, I seasoned the beef with a little salt and pepper. Then, I stir-fried the garlic. I added the beef to the wok and cooked it, then added the spring onions and cooked 1-2 minutes more. I tossed in a splash of apple cider vinegar, a splash of soy sauce, the mango pieces, and the cashews and stir-fried for 1-2 minutes more.
The preparation for this recipe, mainly peeling and dicing the mangoes, took much longer than the actual cooking, as seems to be the case with lots of Asian-esque food.
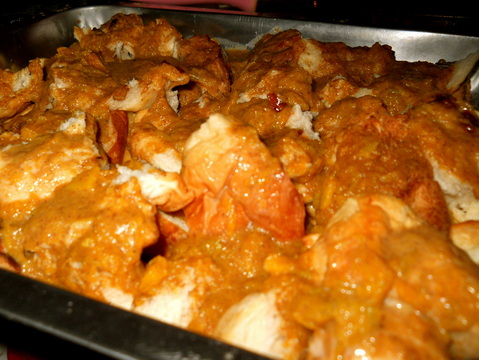
I was going to buy lettuce cups (lettuce in a cup shape), but for the sake of at least a few vitamins, I opted for the somewhat darker green lettuce next to it at the market... It's hard to get those greens in.
Served with lettuce and rice.