Summer. A time for accomplishing things, right? Well, that's usually my approach to life when I have free time. So this summer, I want to learn how to cook/prepare more dishes using fresh fruits and veggies. I tried my hand at this one from a
raw food website, and loved it! This whole fruit-and-veggie cooking thing is off to a good start!
Dressing Ingredients:
1 c. cashews, soaked at least two hours
juice from 1 1/2 lemons
1/4 c. water
2 small shallots, chopped
2 cloves garlic
2 T. honey
1/2 T. vinegar
pinch of salt
I mixed these in the blender until smooth.
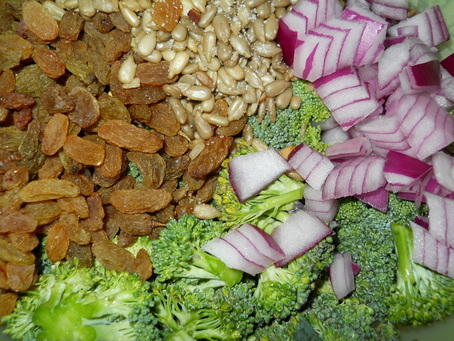
Salad ingredients:
6 c. chopped broccoli
1/2 red onion, chopped
1 c. raisins
1 c. sunflower seeds
I mixed the salad ingredients, then I added the dressing. After tossing it evenly, I allowed it to refrigerate for 15 minutes to allow the flavors to blend. This was healthy and tasty, and most of all, incredibly simple to make.
Mangoes. Peaches. Bliss. What better snack than a little mango-peach cobbler? Really, it was fantastic. It was also a much-needed way to use up a huge bag of mangoes we'd bought another bag of peaches we'd been given. I checked out a few recipes online to get some ideas, then I whipped this one up on my own.
Ingredients:
8 small peaches, sliced
8 small mangoes, peeled and diced
1 T. cornstarch
1 t. lemon juice
1/2 t. cinnamon
1/2 c. flour
1/4 c. wheat germ
1/4 c. oat flour
1/4 c. sugar
1/2 t. salt
1 1/2 t. baking powder
1/2 c. milk
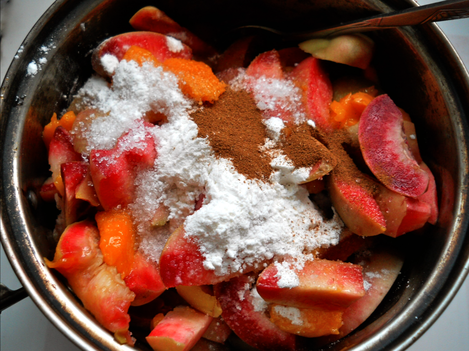
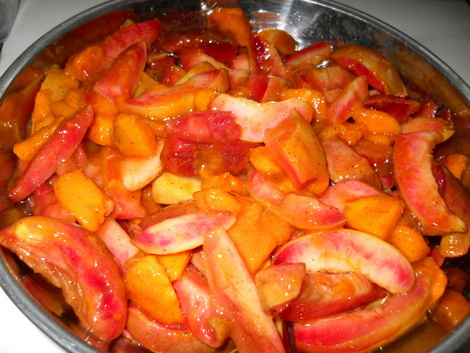
First, I preheated the oven to 375 degrees. Then I combined peaches, mangoes, 3 T. sugar, the cornstarch, lemon juice, and cinnamon in a saucepan. I heated it until it boiled and then let it simmer for a minute or so until it was thick.
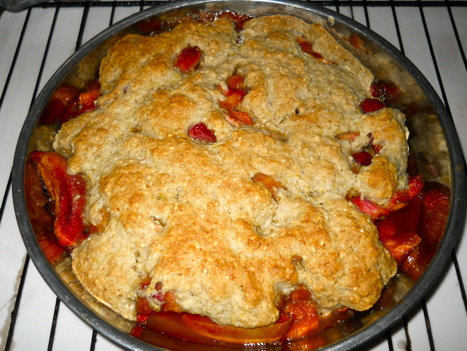
I poured it into a 10'' round baking dish while I mixed the flours, 1 T. sugar, baking powder, salt, wheat germ, and milk until it was moistened evenly.
I poured the topping onto the peach and mango mixture and baked it for about 30 minutes until it had browned on the top. This will certainly be appearing again in my kitchen this summer!
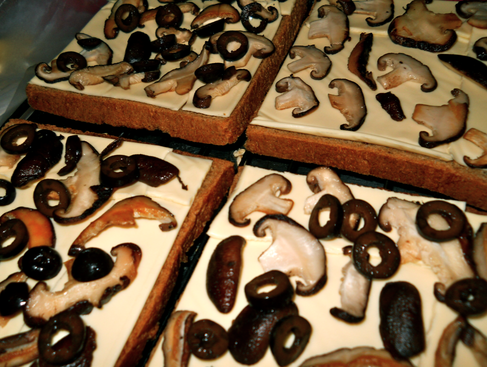
After reading an article about a
gourmet grilled cheese making contest, I figured it was time to mix up the usual cheese sandwich with a couple of add-ins.
First I laid out the bread and covered it corner-to-corner with cheese. Then I sliced and sauteed some mushrooms and laid them out on the bread.
Finally I added some sliced olives, then topped each sandwich with another plain piece of bread and toasted them in our overgrown toaster oven until browned and melty. These were fantastic.
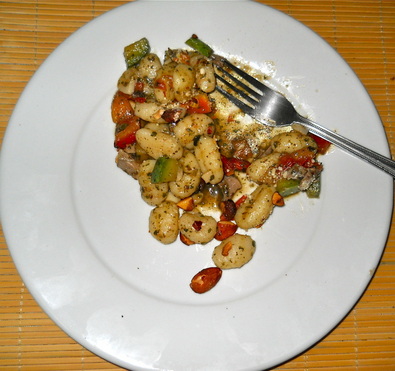
For Christmas, Austin bought me a package of gnocchi, which I think just means potato dumplings. I'd never cooked them before, never mind eaten them, so they've been sitting in our little pantry for almost 5 months now. Well, last night I did it-- I cooked the gnocchi, and we loved it! I just mixed and matched ideas from a whole bunch of online recipes I browsed. Here goes...
Ingredients:
1 cup zucchini, diced
1 cup tomato, diced
3 mini-onions (maybe shallots? I don't really know.), minced
2 cloves of garlic, minced
1 t. oregano
1/2 cup pesto sauce
salt and pepper to taste
2/3 cup almonds, toasted
3/4 cup shredded duck (or chicken. I thought I was buying chicken, but there was a duck head in the bag, so I'm pretty sure I bought duck.)
Parmesan cheese for sprinkling
18 oz. gnocchi, prepared
First, I prepared the gnocchi & the pesto sauce, setting them aside in separate bowls.
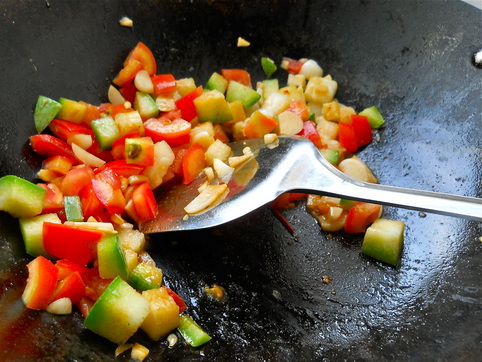
Then I cooked the garlic & baby onions in just about a teaspoon of oil before adding the zucchini cubes. I added some water a few times in order to add a little steam and keep things from burning. I wanted to cook the zucchini until it was tender but still a little crisp. When it felt like it was just about ready, I threw in the tomato cubes, the duck, the oregano, some salt, and the pesto sauce and stir-fried it for another one or two minutes.
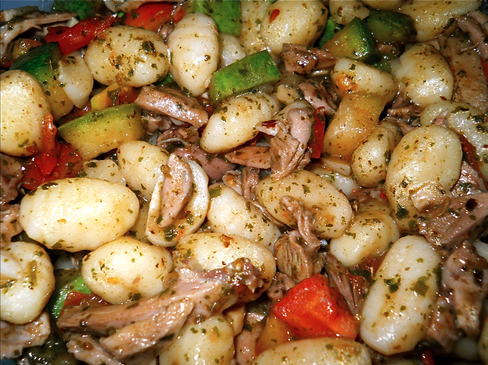
After that, I combined it with the gnocchi, topped with a sprinkle of Parmesan, a sprinkle of black pepper, and a sprinkle of toasted almond pieces. This was delish, and all in less than 15 minutes. Fantastic.
What's summer without popsicles? With the weather getting warmer, it was time to kick off summer snack-making with a round of 100% fruit popsicles.
These popsicle holders were one of our few posessions from America selected to come on over in our packed suitcases. They're wonderful, with the handle that catches the juice as the popsicle melts.
These turned out pretty well.
Ingredients:
1/3 cup apple juice
1/2 lemon, juiced
1/2 small watermelon, cubed
2 bananas
I blended it, filled the popsicle holders, and popped them in the freezer. Fantastic.
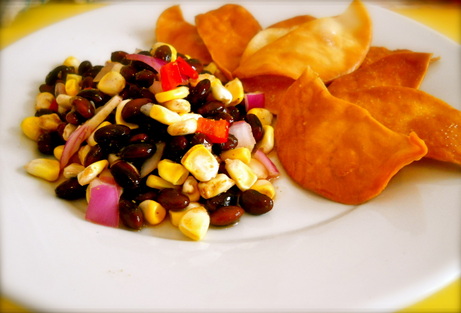
I had some leftover corn and black beans from the Quesadilla Casserole yesterday, so I Googled "corn & black beans" and found this
black bean and corn salad recipe from Rachael Ray. It looked tasty, so I decided to give it a shot, adapting just the smallest bit. Yum!
Ingredients:
2 cups black beans
2.5 cups corn kernels
1/2 red onion, chopped
1/2 spicy red pepper, chopped (The original recipe called for a red bell pepper; I didn't find one at the market, but I think that would be great.)
1.5 teaspoons ground cumin
salt and black pepper to taste
2 teaspoons Tabasco sauce
1 lime or lemon, juiced
*After making this, I think next time it would be really good to add cilantro and a fresh tomato chopped. Also, more black beans would be a great addition.
Combine ingredients & allow to sit for at least 15 minutes so flavors can blend.
We ate this with some baked chips for lunch.
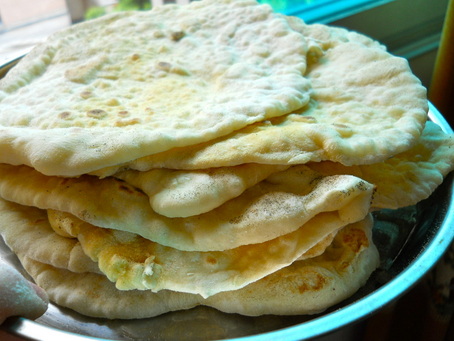
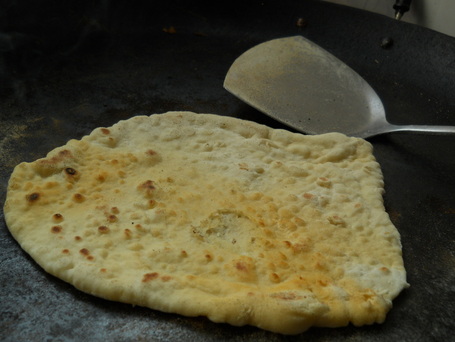
I found this recipe on a
"From Scratch" website. I've got to admire the people who have multiple children, AND cook from scratch AND take time to blog about it AND, in those blogs, mention that they also think it's a great idea to have their own gardens, grow their own vegetables, and raise their own livestock!
Ingredients:2 cups flour1 1/2 t. baking powder1 t. salt2 t. oil3/4 c. warm milkCombine ingredients and knead until firm and soft. This took me about 5 minutes. Then I let it rest for 20 minutes.I formed it into 8 balls and let them rest for another 10 minutes.Then I rolled each ball as thin as I could (I was aiming to make 8" tortillas and usually got about 6-7") and then cooked them on a dry skillet for about 30 seconds on each side until lightly browned & usually a little bubbly. These weren't quite as flat as store-bought tortillas, but they tasted great and worked really well in a quesadilla casserole I made.
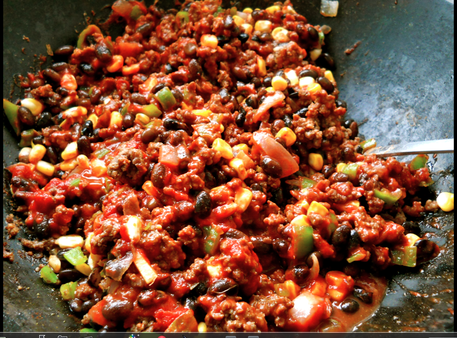
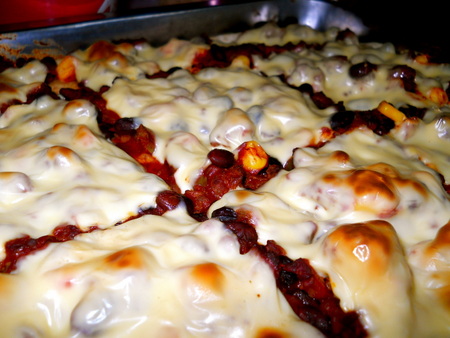
Well, it was time for Project Casserole to continue, so I decided to try out a Quesadilla Casserole I found on
Chef Jeff's website. This turned out really well. Our meal finished with an exclamation of, "Wow! We have to make this like, every week!" Oh, the appreciation adds such motivation to my culinary experiments.
Ingredients:1 pound ground beef1/2 red onion, chopped2 t. chili powder1 t. cumin1 t. garlic, minced1/2 t. oregano1 1/2 c. tomato sauce3 spicy green peppers, chopped2 c. black beans1 c. corn1/2 t. red peppercheese (about 2 cups is what the original recipe called for; I used about 14 cheese singles b/c that's all we've got)6- 8" tortillasBrown the beef and onion, then add the next 8 ingredients. Bring to a boil, then reduce and simmer for about 5 minutes.
I added a layer of the saucy-meat mixture on the bottom of my 13 x 9ish pan, then added a layer of 3 tortillas. (I made the tortillas, & you can see the recipe under the bread category on the right side.) Then I added half of the remaining meat mixture, a layer of cheese, another layer of tortillas, the rest of the sauce, and the rest of the cheese.
At this point, everything was cooked, but I covered it with tinfoil, popped it into the oven for about 20 minutes and baked it at 350 degrees. Then I removed the foil and allowed the cheese to brown a little.
This was a big hit on the home-front as well as with some Chinese friends we served it to tonight as leftovers!
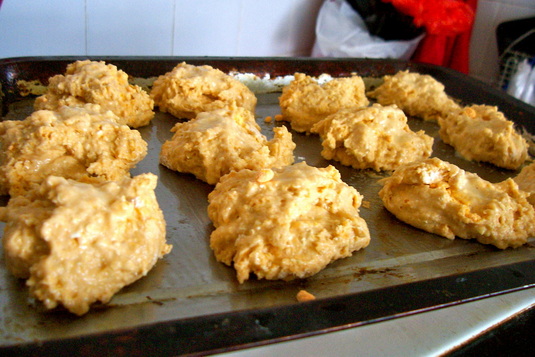
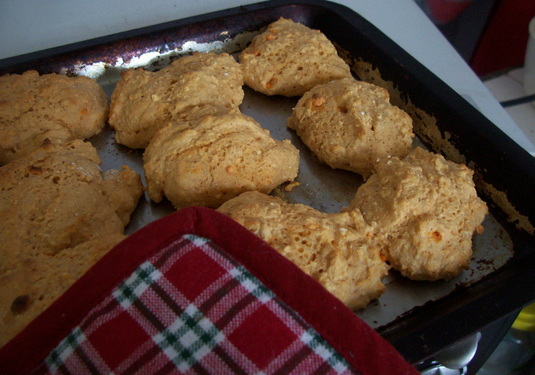
I've been waiting to post this one because some kid came over and erased the dry-erase board where I'd written the recipe, and I just recently found the original scrap of paper where I'd written my little experiment.
Ingredients:
1 1/2 t. garlic powder
1 c. + 1 t. flour
2 t. wheat germ
2 1/2 T. cheese powder
7 T. milk
1/4 t. baking soda
1 1/4 t. baking powder
I baked these at 400 degrees for 10-12 minutes. It made 12 fairly large biscuits.
We love oatmeal in the mornings, and fortunately we have the oats available to make it often. Hot oatmeal cereal, hot millet cereal, hot oatmeal and millet, and the occasional box of Rice Cric (some foreign brand of Rice Krispies) from a nearby town comprise our breakfast menu.
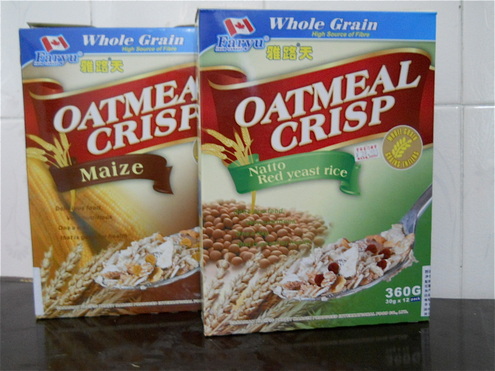
The other day we purchased 2 boxes of what we thought was cold cereal (judging by the appearance of the box, the presence of the word "crisp" in the title, and the appearance of the stuff on the spoon in the picture). Upon excitedly opening them at dinner time, we discovered they were, but again, packets of flaky and powdery stuff meant to be made into hot cereal. Here are the deceptive little boxes:
Feeling deceived, tricked, and a little stupid that I'd fallen for the picture on the front cover and not thoroughly inspected the box, I thought, "There must be a way to make our own cereal with stuff we can find around town." So after my last afternoon class, I hopped on my little blue bike and rode my way to the local supermarket.
At the supermarket, I taste-tested a few grains from the large scooping bins. Unsure of exactly what I was buying or what I'd do with it, I picked up some little circles made of corn, some non-instant oats, two mystery bags which I later discovered were crushed/pressed oats, one dark, one light (they look like oats that someone ran over with a truck so they're kind of fractured and more flat), and some "malnut meats" (code for walnuts). Then I pedaled back home, cuddled with my language notebook, and waited for inspiration to hit.
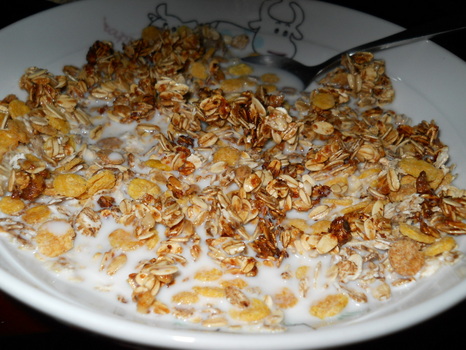
I'm not sure how inspired this was, but it did turn out surprisingly well. I decided to make kind of a mixed-grains cold cereal with some sweet clusters to make our taste buds dance.
Ingredients:
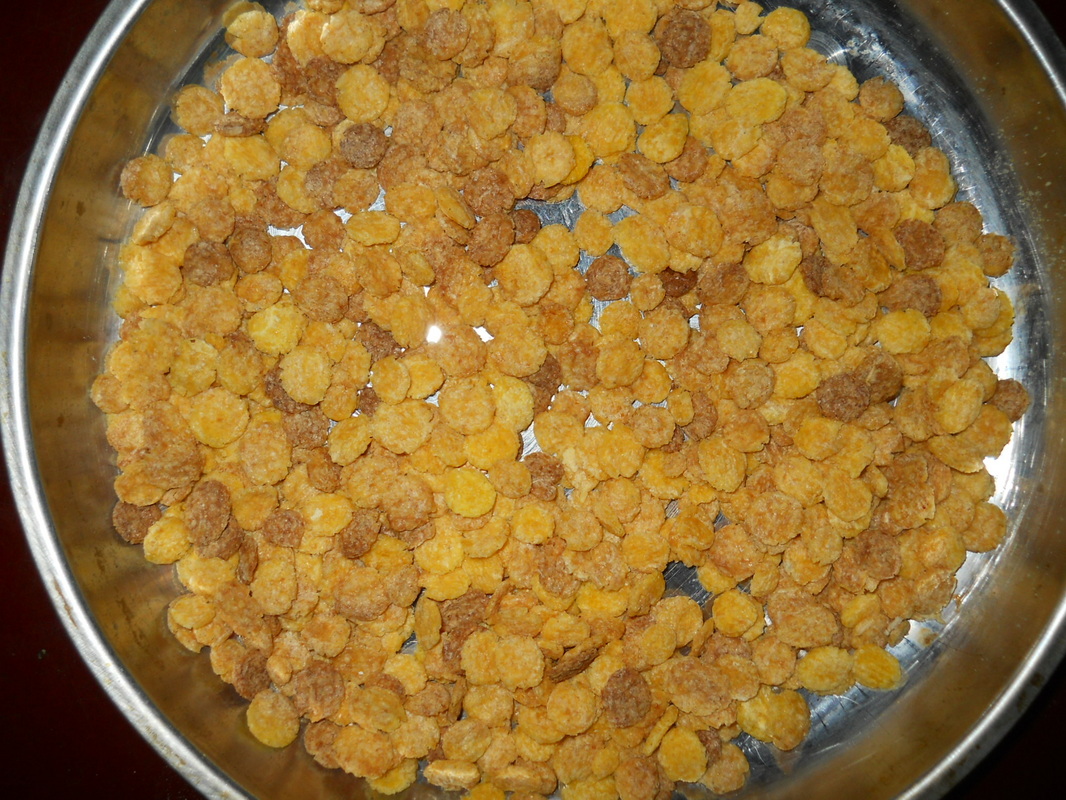
1 cup corn pieces/discs/flakes
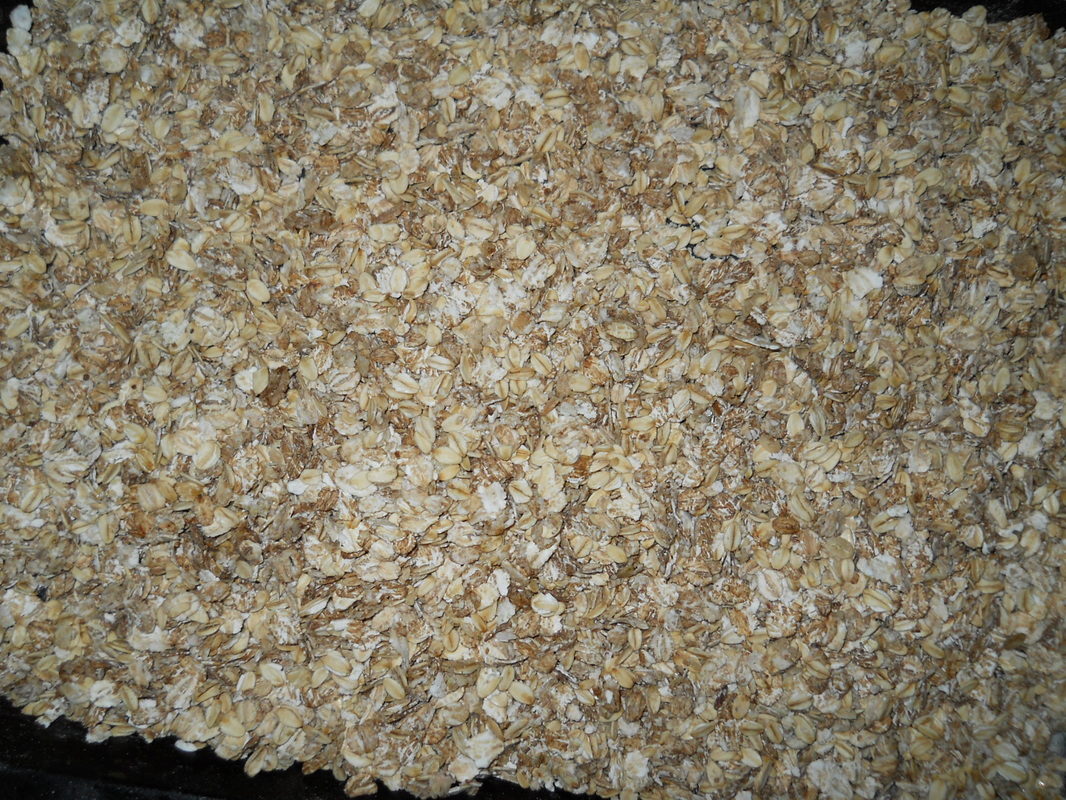
4 1/2 cups oats
1/4 cup powdered sugar
3 T. water
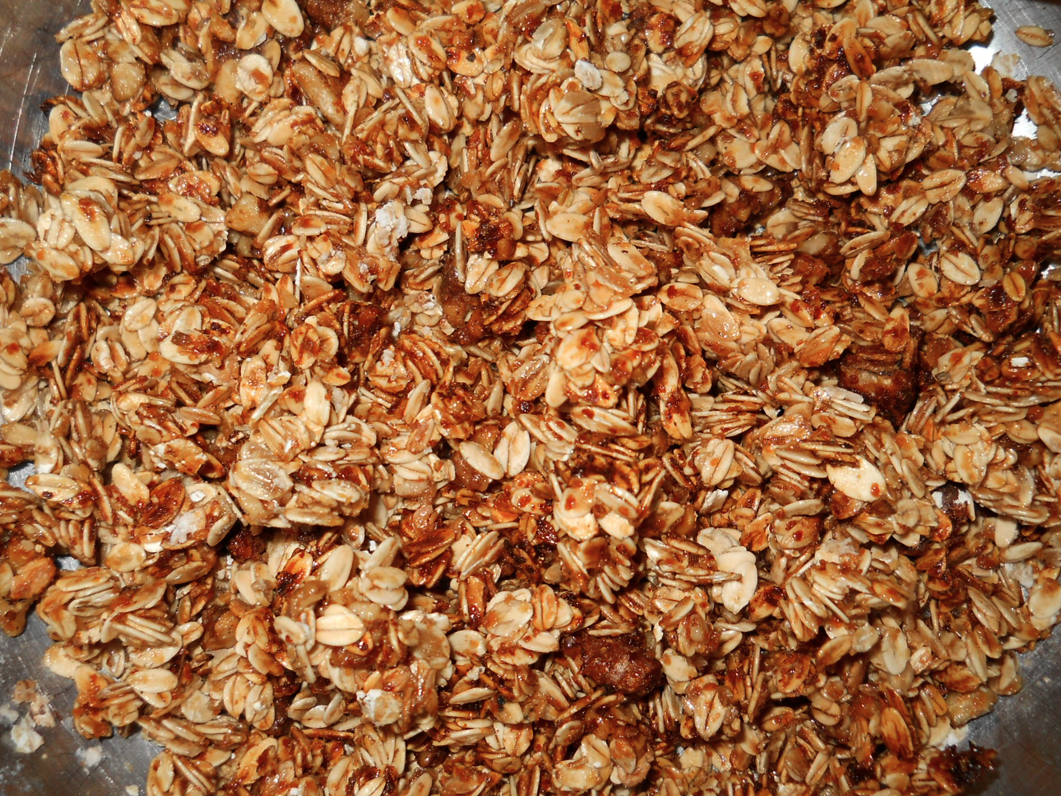
1/3 c. honey
3 T. crushed walnut pieces
2 T. wheat germ
Well, the corn pieces were stale and really hard to bite into, so first, I toasted them and measured out one cup to be thrown into the cereal.
Then I measured one cup of each of the kinds of oats (Three cups of regular oats would do just fine.) I dissolved 1/4 cup powdered sugar in 3 T. of water and slowly added it to the oats, stirring constantly to make sure the sweet liquid coated them evenly rather than soaking into any one part. Then I toasted them at 400 degrees for about 15 minutes until dry and a bit crispy. I had to stir them frequently to make sure they didn't burn.
I mixed the honey, walnuts, wheat germ, and 1 1/2 cups of oats together and baked that for about 30 minutes, stirring frequently. Once cooked, it made a super-tasty bunch of oat clusters to be mixed with the other cereal parts.